
Deploying AstrBot + NapCat + QQBot
Preview
AstrBot Official Documentation
This time, deployment is done with Docker. Command summary:
mkdir astrbot
cd astrbot
wget https://raw.githubusercontent.com/NapNeko/NapCat-Docker/main/compose/astrbot.yml
sudo docker compose -f astrbot.yml up -d
Deployment Process
Deploying with Docker
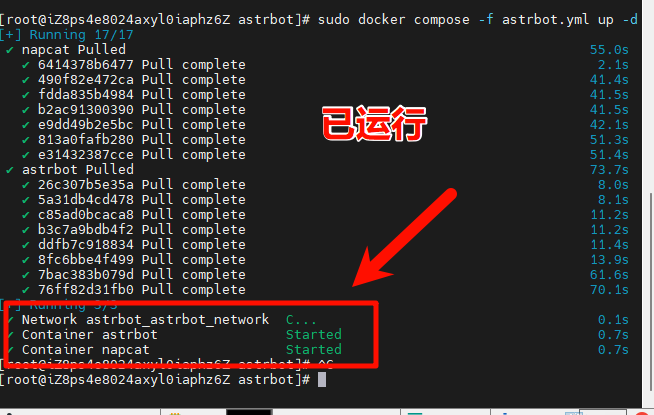
After running the commands in the summary above, a display like the one below means the installation succeeded and the container is running.
Viewing the Target Container's Runtime Logs
sudo docker logs -f astrbot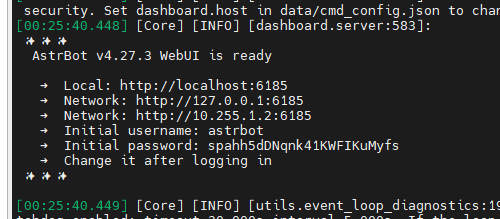
From the image above it is clear that AstrBot is ready, and there is an account with a default password.
Allowing Ports Through the Firewall
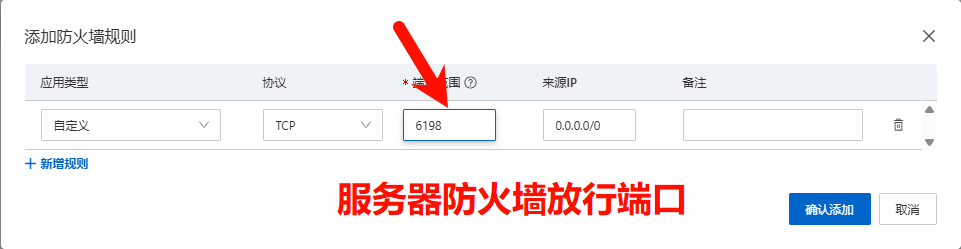
Two default ports need to be allowed: AstrBot: 6185; NapCat: 6099
Changing the Password and User
docker logs -f astrbot
docker logs -f napcat
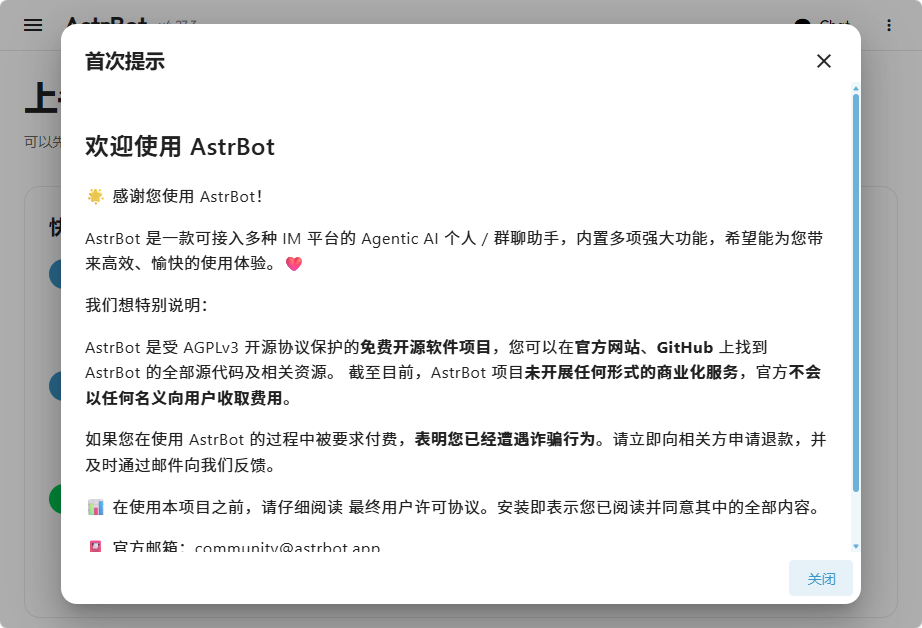
Log in with the account and password recorded in the logs, then reset the user and password. Reaching the interface shown below means it succeeded.
For NapCat, scroll up in the logs to find the token and enter it.
If QR-code login reports: The current device's network is unstable or in a complex network environment xxx, switch to a proxy and log in with account and password
Creating a Shared Docker Network and Connecting the Running Containers
# Create the network
docker network create astrbot_net

# Add napcat and astrbot to this network
docker network connect astrbot_net napcat
docker network connect astrbot_net astrbot

# Restart both containers for the network configuration to take effect
docker restart napcat astrbot
Connecting NapCat to AstrBot
- Enter the NapCat UI and click
网络配置 - Click New and select
Websocket客户端 - The name can be anything; fill in the URL:
ws://astrbot:6199/ws - Copy the Token
- Open the
AstrtBot UIand click the欢迎tab - Select
配置平台机器人, and for the message platform type chooseOneBot v11 - Port 6199, fill in the reverse Websocket Token with the Token just copied from NapCat
- Return to the
napcat网页and click猫猫日记to view the logs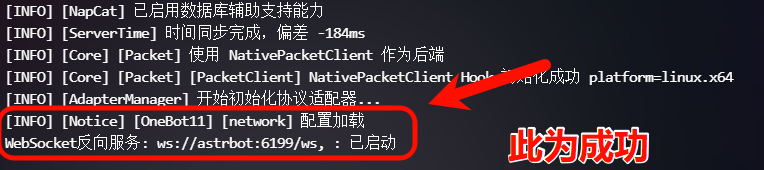
image.png
If you enjoyed this, leave a comment~